Homepage
Homepage
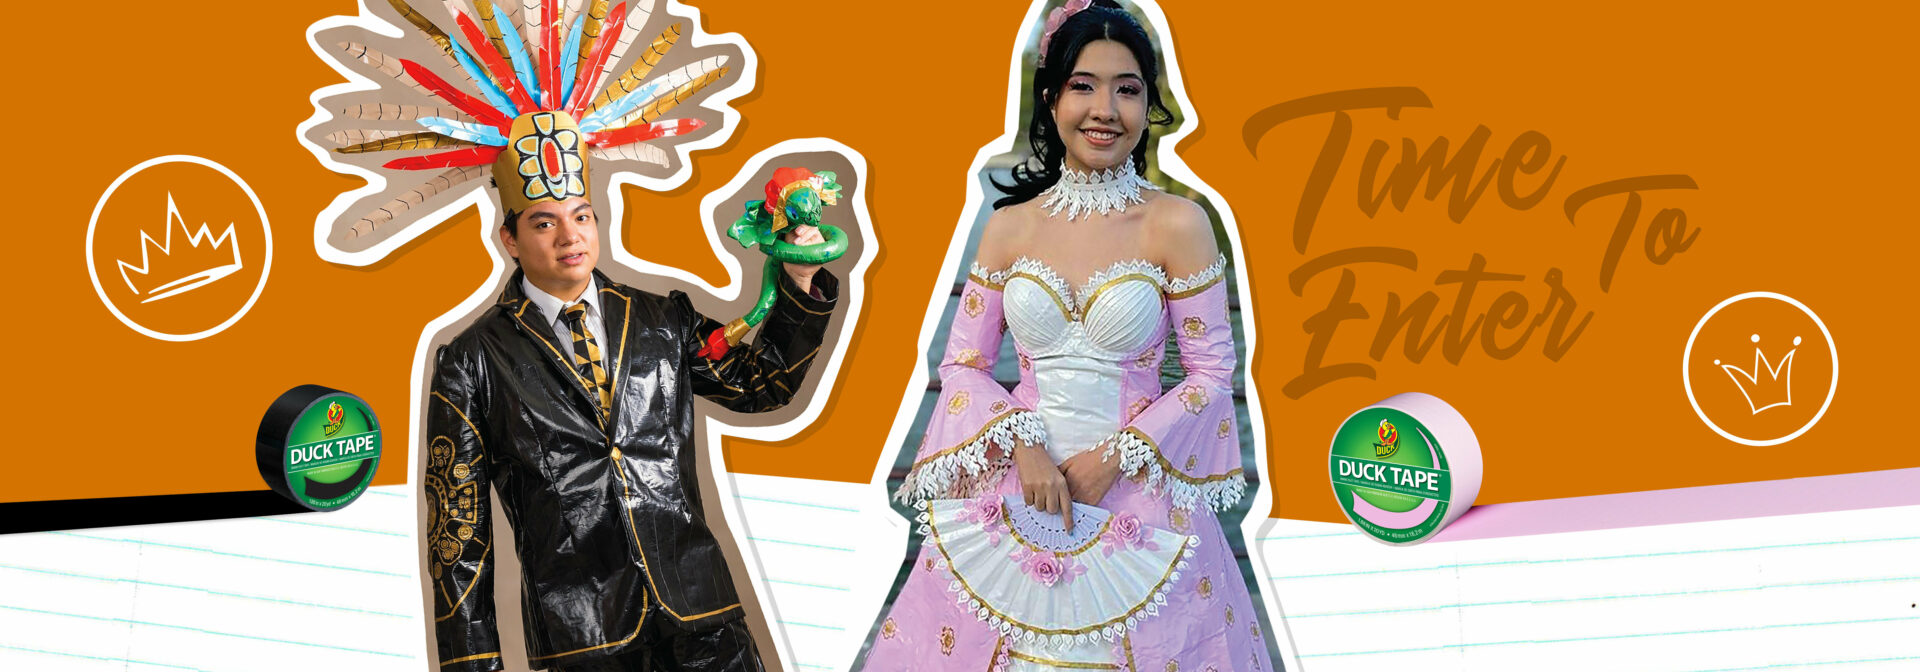
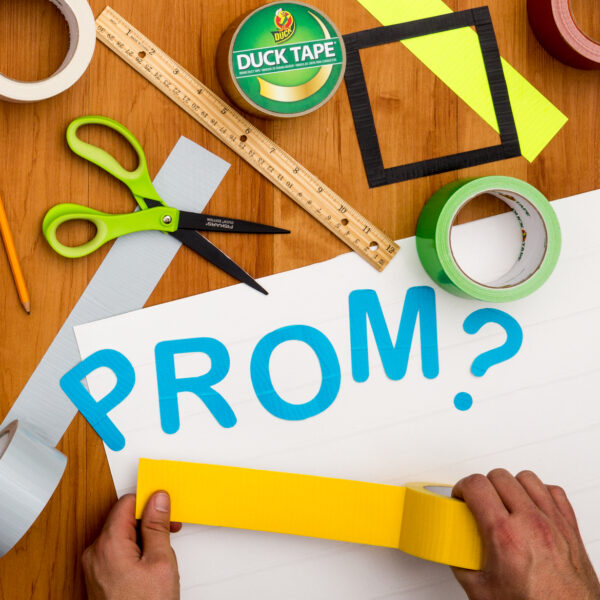
The Stuck at Prom® Contest is Now Open!
Now through June 5th, enter to win a $15K Scholarship. Enter Now
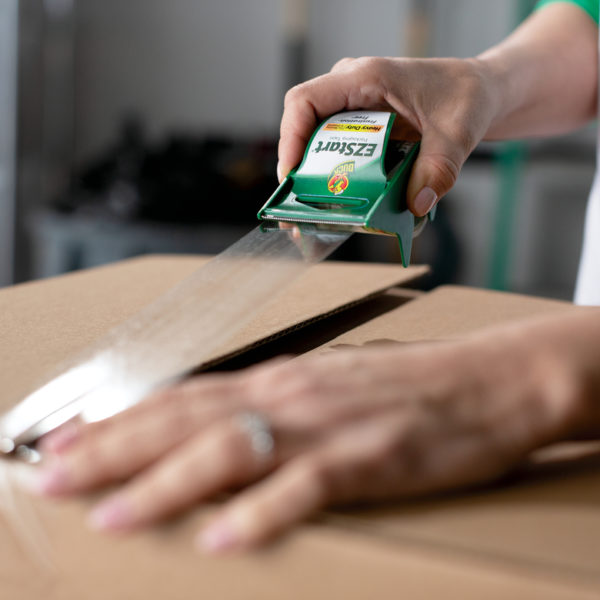
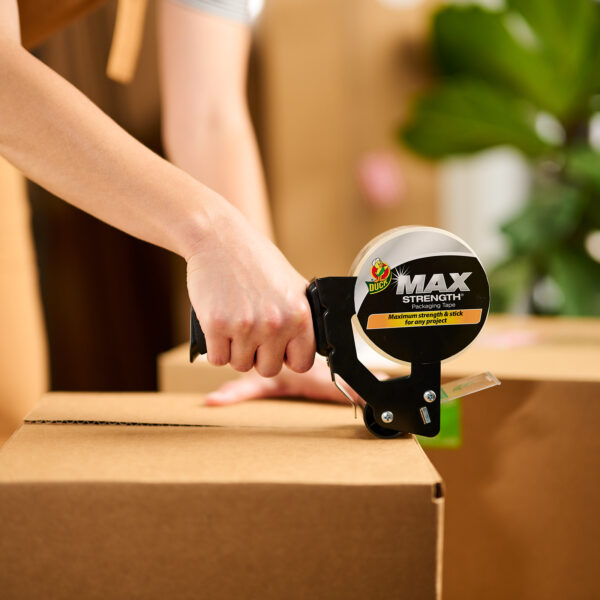
DIY Duck Tape® Hacks
Starting a DIY project around the house? See why Duck Tape® is the go-to-tool for quick fixes and repairs Watch Video
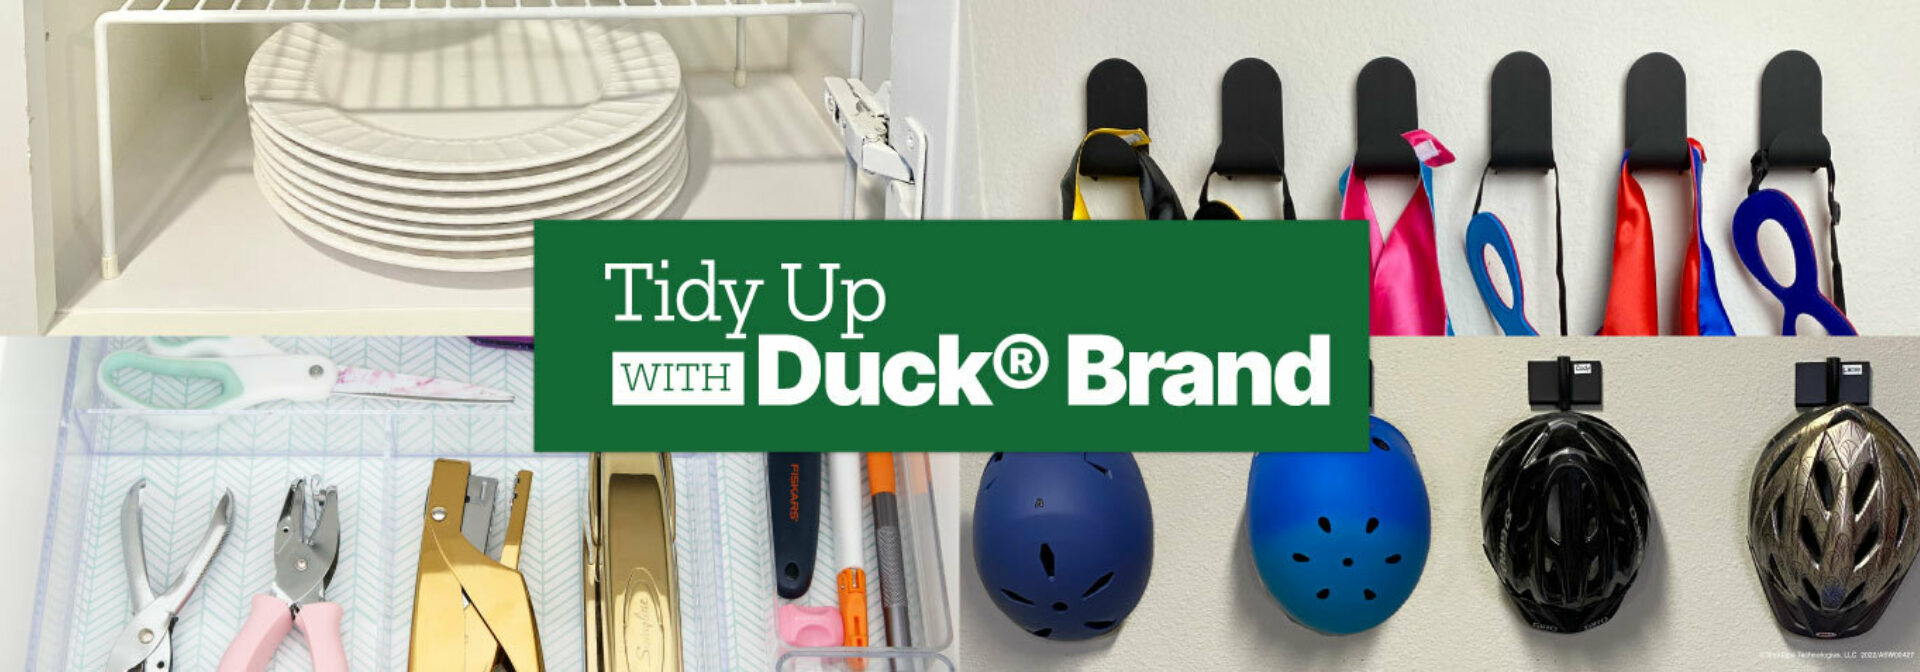
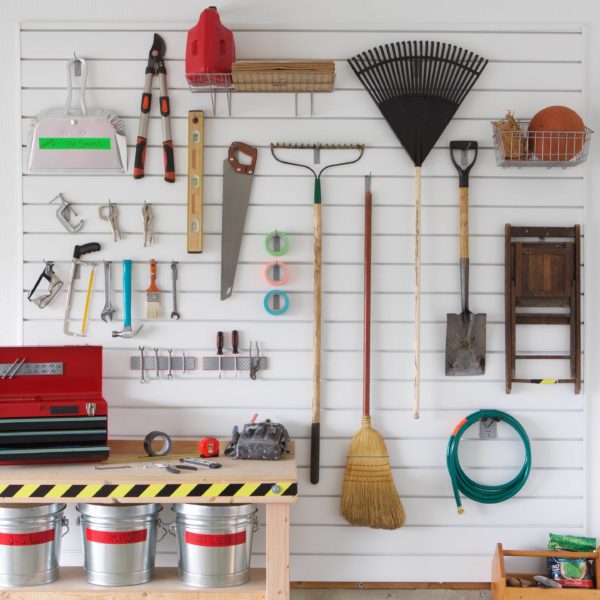
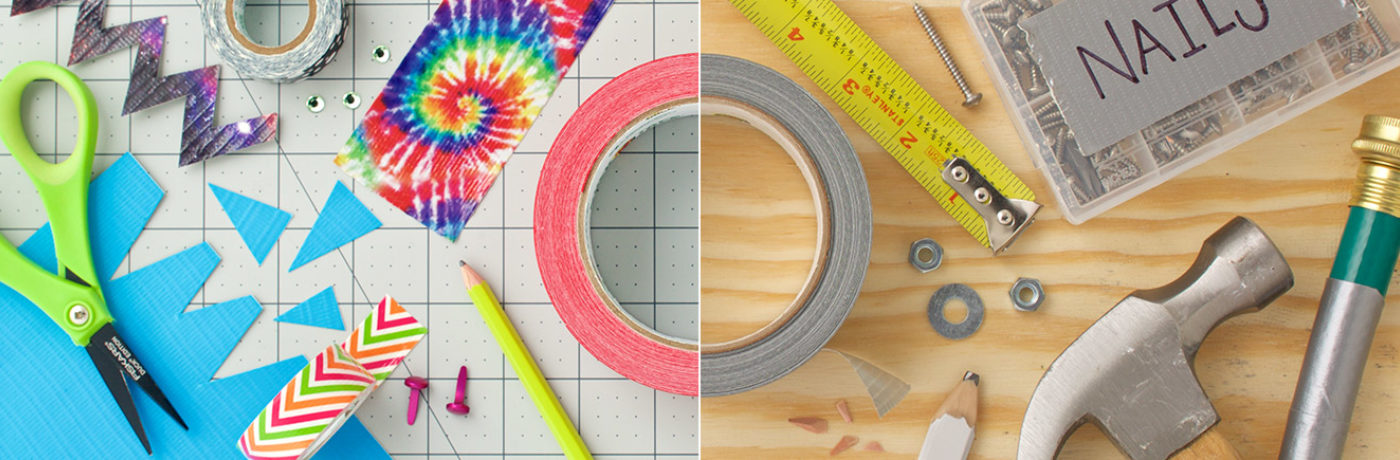
Tidy up with Duck® Brand
Easy Organization Projects to Tackle Today. Get Organized
Articles

Promotions, Rewards & Special Offers
for the latest Promotions, Rewards and Special Offers from Duck® brand.